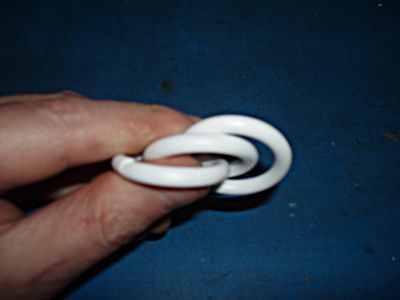
Weave a three-ring Moebius; please note, that it MUST twist top away from you, when adding rings at the right side.
While JPL5 works in the AR range of around 4.6 to 5.4, it is advisable for a beginner, to train with rings in the 4.8 to 5.0 range first. Good rings are 2.0mm (14swg/12awg) coiled on 3/8" mandrel, 1.6mm (16swg/14awg) made on 9/32" (tight), 7.5mm or ~19/64" (a bit looser), or 1.2mm (18swg) coiled on 5.5mm (7/32") mandrel. 1.0mm /19swg/18awg) works well, if coiled on 4,75mm or 3/16". All these wire/mandrel combinations lead to an AR of less than 5.0, if done in Bright Aluminium; in softer materials like Copper the AR will be a bit lower and the weave tighter, and in harder ones like springier Steel varieties or Titanium a bit above 5.0, but weavable, nevertheless. Later, with more experience, it's usually no problem to use a bit higher-AR rings - but here chain end rings tend to slip out of the proper layering. This problem can be overcome either by weaving claspless closed-loop pieces, or stabilizing the open weave ends with at least four rings of sub-AR 5.0 rings each.
But now let's start. Prepare around a dozen preopened rings, as it is a bit difficult to hold a yet unstable starter piece and pliers in your hand, and then opening rings - closing is already difficult enough. Who is yet inexperienced, should maybe select soft material for the starter, that can be bent closed with the fingers, and after a successful start is done, change over to the final selected material - to remove and store the starter for later. And beginners should learn that weave using large, thick-wire rings, as they are simply easier to hold. This tutorial uses large plastic curtain rings, to make it a bit easier to see how the weave works.

Weave a three-ring Moebius; please note, that it MUST twist top away from you, when adding rings at the right side.
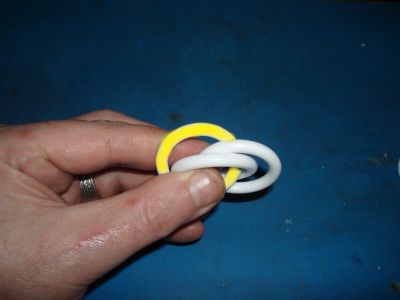
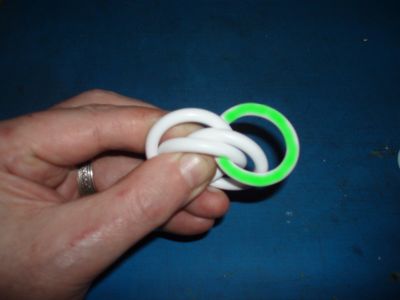
Flip the first ring (marked yellow) front side down. Then add a fourth ring (marked green), horizontally through all three previous rings.
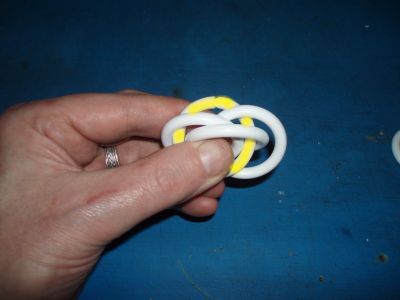
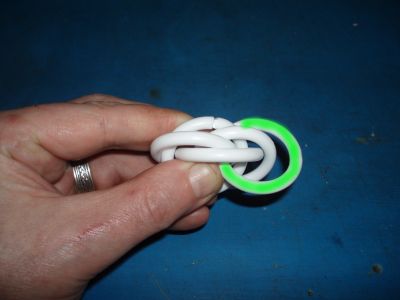
Flip the second ring (yellow) down. Note that by doing this, the starter segment will be already twisted a bit (top towards you). Add the fifth ring (green), again horizontally, now through all four previous rings. Be cautious to maintain the layering scheme!
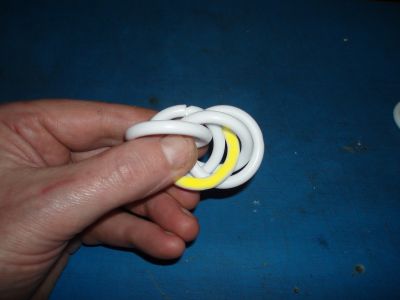
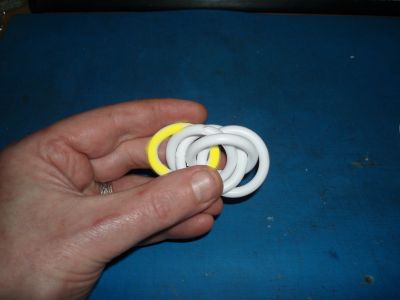
Flip the third ring down (again that will twist the chain a bit towards you).
And now the difficult part begins. Flip ALSO ring #1 down!
If you omit this step, the resulting chain will become a JPL5 Spiral, what is also attractive, but not JPL5.
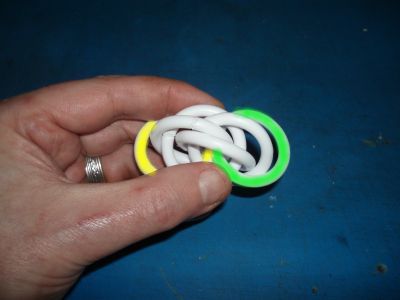
Add ring number six, through the last FOUR rings, layered atop the first ring.
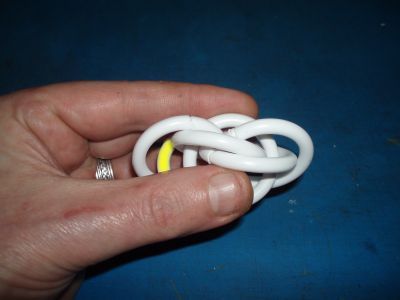
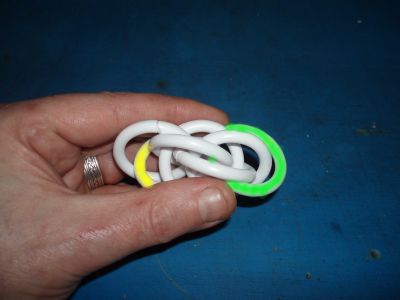
Twist the COMPLETE starter segment top towards you, without bringing any disorder into the layering pattern, until ring #2 lies horizontal, and the just woven last ring is roughly vertical. It's difficult to maintain the pattern at that stage of starting, and seems even to look wrong for a moment, but that's an absolute must to be successful. If you weave with smaller rings, it can be useful to use a tie wire or similar aid, to hold the starter piece stable. Now add the seventh ring, AGAIN through the last four woven rings, layered atop the SECOND ring.
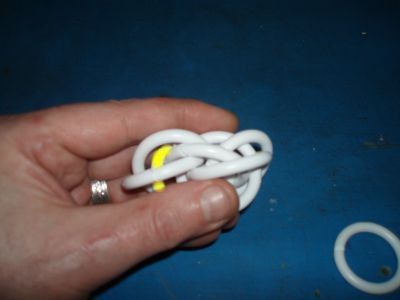
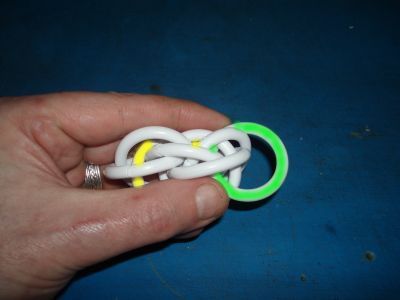
Again, twist the complete chain, until this time the third ring is horizontal. And add a new ring (now #8), as already used to, through the last four and atop the fifth-to-last ring (#3).
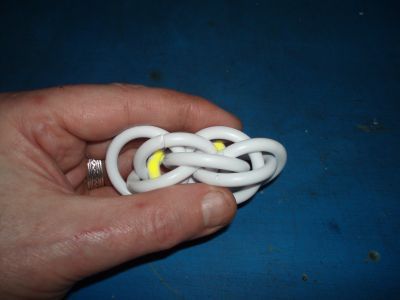
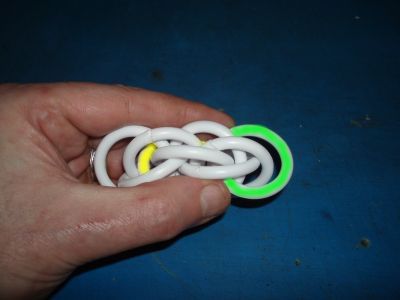
Now the repeating pattern begins to unfold - and fortunately also to stabilize. Twist top towards you, until the fifth-to-last ring is horizontal, then add a new ring through the last four rings, atop the horizontal one.
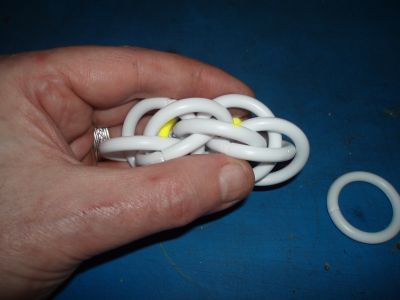
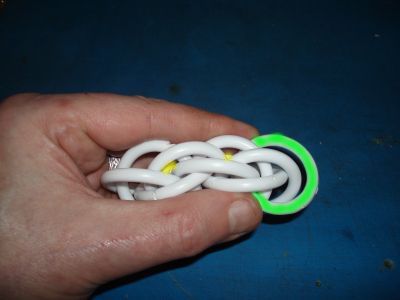
Rinse and repeat - twist, add, twist, add, until the desired chain length is reached. After the eleventh ring you're allowed to take a deep breath - you got it, and the pattern will not more lose its order and layering scheme. Only if you weave with AR>5 rings, continuous caution is needed, to maintain always the proper layering scheme.
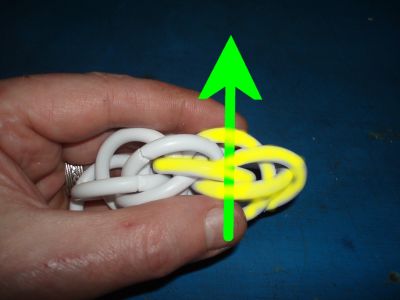
If you want to continue a laid-down piece, just twist it, until the fifth-to-last ring (here invisible, as covered by the arrow) lies horizontal, right side sloping downwards, and add a ring layered atop it (as used, through the last four rings, marked yellow in the image). That is the basic, repeating principle.
And you may have noticed it already: A right handed mailler who is used to hang already woven chain segments from the 'steady' left-hand pliers when closing a ring, will see that the chain is already twisted nearly optimally positioned by closing the new ring, when picking the chain again with the fingers. And this is (imho) the biggest advantage of this weave twist direction over the usually taught weaving method of JPL5.
Have fun with JPL5. :)
A 'How-to-Join' will probably follow, somewhen. -ZiLi-